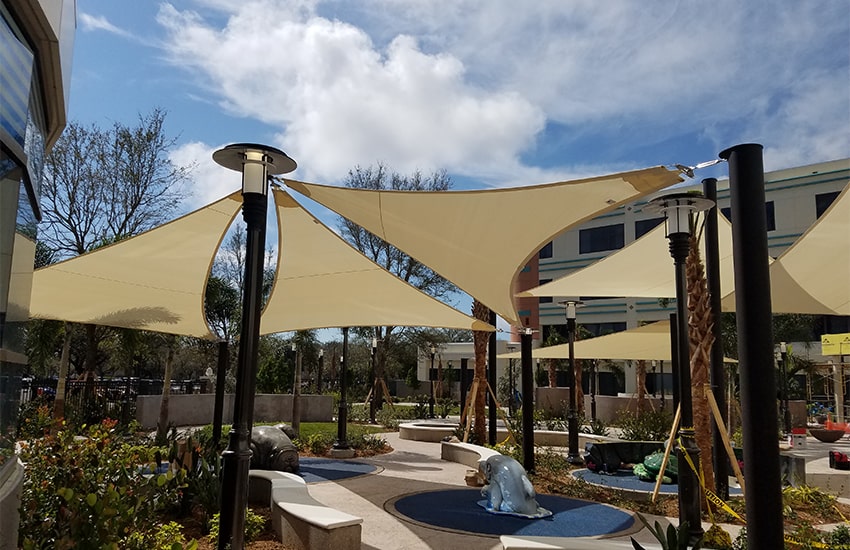
Shade Sails are a lovely, sturdy, long-lasting investment that exudes style, leisure, and functionality. When properly manufactured and maintained, your purchase can last 10 to 15 years. Make certain that everything is done correctly the first time.
Step One: Create a Design
The first step in creating a beautiful shade is determining which area needs to be protected and how much overall shade is required. The beauty of a custom shade sail is that you can make almost any 2-dimensional shape you want.
Step Two: Create a Sun Shadow
When designing your shade sail, keep the sun’s path in mind to determine the best location for your shade. The direction of the sun changes not only throughout the day but also from season to season
Step Three) Take into account the attachment point
Examine your surroundings carefully to see if there are any existing attachment points for the shade sail. Installing a shade sail over a hot surface, such as a fire pit, should be avoided. Shade sails can be attached to trees, landscaping elements, or even your home’s structural walls. If no suitable attachment points are found, you will have to erect masts or posts to secure your shade sail.
Step Four) Fabric Selection
Creative Shade Solutions has settled on superior quality Commercial Ninety-Five 340 Fabric
Commercial Sail Fabric and Material Options | Creative Shade Solutions
It is used in a wide range of applications and is designed for tension structures and shade sails. Commercial 95 provides the ultimate combination of maximum sun protection, strength, and durability to ensure long-term performance that requires little maintenance.
Step Five) How to Provide Accurate Measurements
Measuring usually requires two people, so gather a coworker or a friend and your tape measure and head out to the location. You’ll also need a piece of paper or a measuring sheet to record your measurements.
Organize Your Measurements

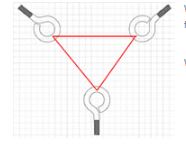
The number of measurements required will vary depending on the type of sail and the number of sides it has, and it’s critical to keep your measurements organized so you don’t mix up the numbers. Here’s where your measuring sheet comes in handy. To keep you organized, the measuring sheet will have the rough shape of the sail and letters (ex. a, b,,c, d) that identify each post and anchor point. You can also draw your own configuration and label the post.
Each attachment point’s height should be measured.
Grab your ladder (if necessary) and measure from the ground to the attachment point’s center. Take notes on your measurements.
Measure the distance between the corners.
To accurately measure, start at the anchor point of your first attachment point and pull the tape measure to the next post’s attachment point. Make a note of your measurement on your measuring sheet and repeat for each corner.

In addition, take diagonal measurements. To get an accurate reading, pull the tape measure tightly.
Remember to take your measurements from the anchor point, not the ground post. This will result in inaccurate measurements and fitting.
Measurements should be double-checked.
Once you’ve finished the measurements, double-check your work and measure again. It is critical that the measurement is correct in order to achieve a proper fit and tension at each anchor point. It is always better to be safe than sorry.
Step Six) Manufacturing of the Shade Sail
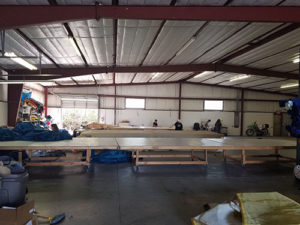
Making a shade sail that will fit is nearly impossible for a nonprofessional. This is due to the fact that all shade materials stretch when under tension. Sails should be designed and manufactured in 3-dimensional software programs to ensure the perfect fit and even warp and weft tension throughout. By doing so, you can achieve a strong and robust shade while also greatly increasing the expected lifetime.


A UV stabilized high-density polyethylene shade fabric and UV stabilized sewing thread are used to make our custom shade sails. Multiple layers of shade cloth are used to reinforce each corner. A pocket is sewn around the entire perimeter of the sail to help transfer the tensile load to the sail’s center.
Because each sunshade sail is made to order, please double-check the color and size before ordering, as all sales are final. Also, manufacturing timelines can vary, so please contact us if you have any specific timing requirements.

